Managing Contacts
If you click on “Contacts” you will see all the contacts currently in your app on the left hand side. You can click the “+” icon above the contacts to add a new one, or you can click on an existing contact to edit it.

When editing or creating a contact there are a few entries that you must complete, the name, phone number, and label for the number (if in doubt, you can just label it “Main” or “Phone”). If you want you can also include the address, organization affiliations, titles or positions, and any other information (like door access codes) can be included in the notes section.
If you select “This is a Hospital” you can then select the capabilities of that hospital:

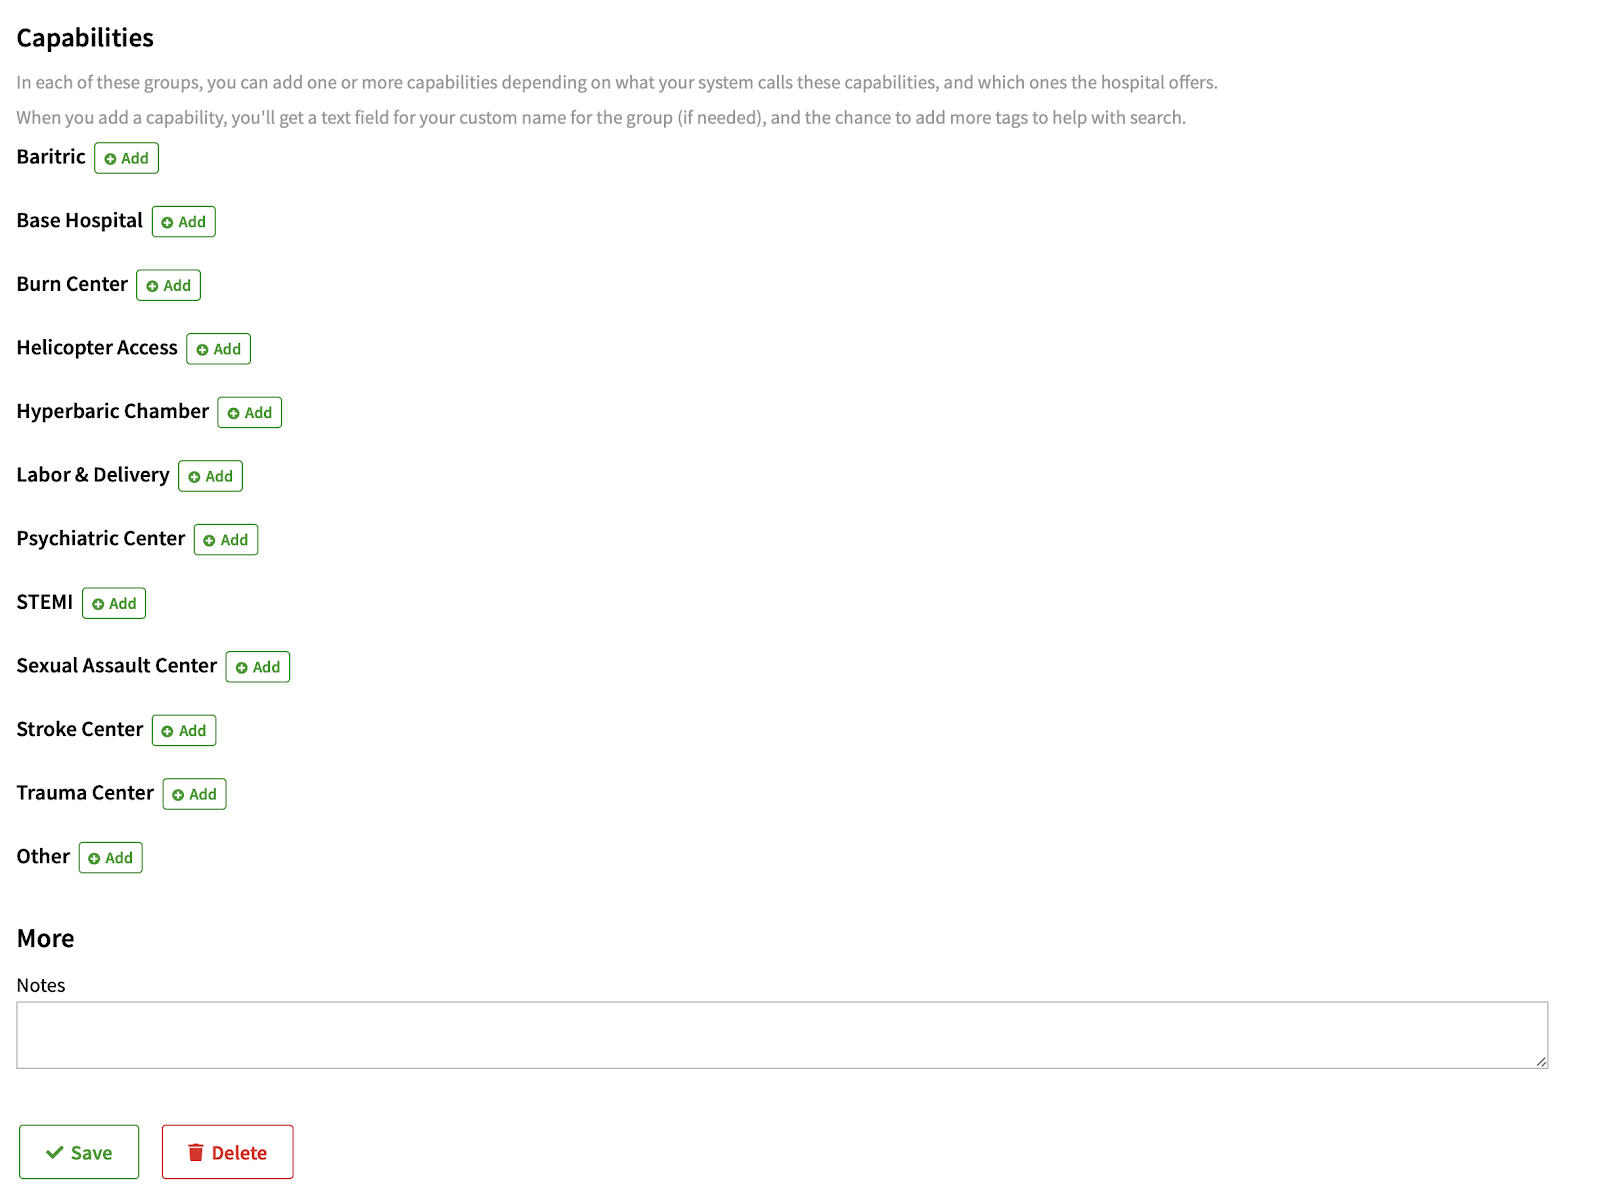
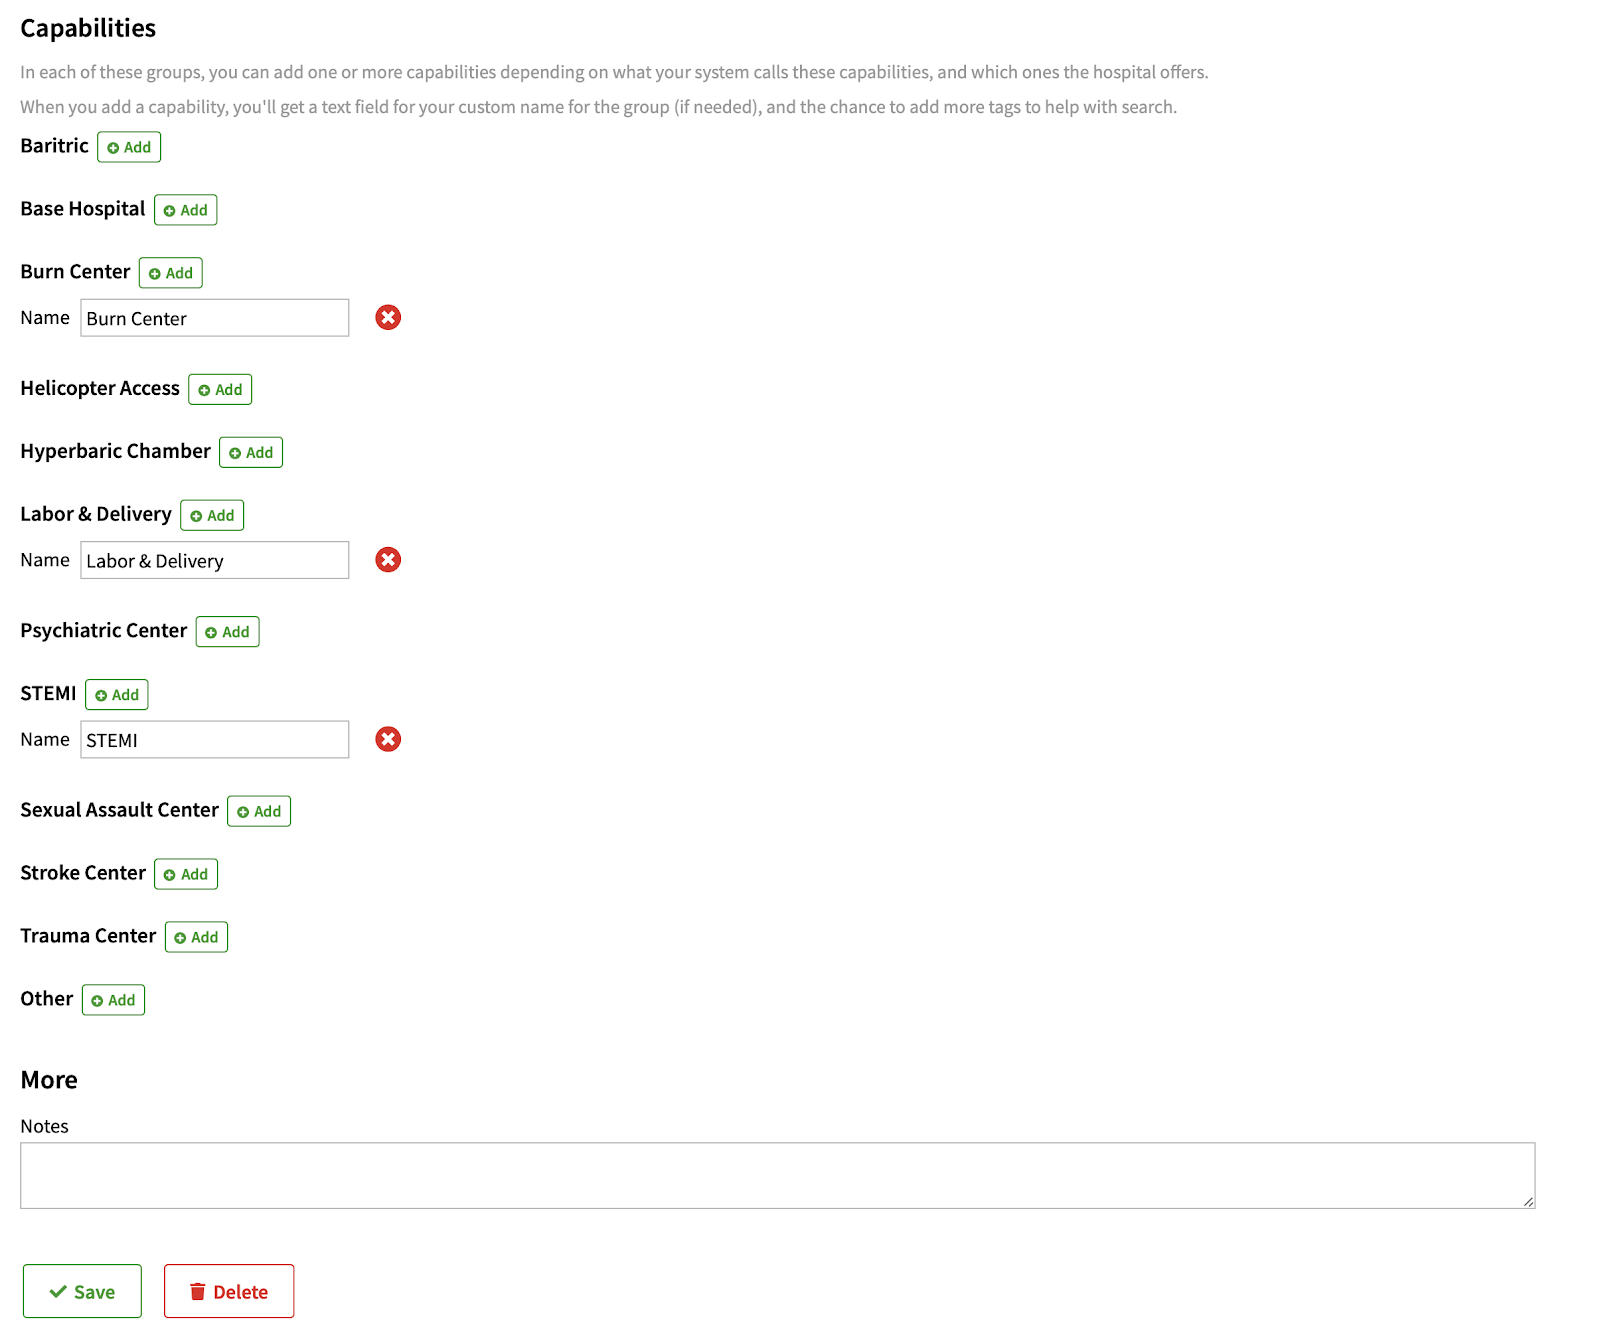
Click “Add” next to each capability you want to associate with the hospital. You can then adjust the default name of the capability if you want.
When finished editing or creating a contact, click “Save” at the bottom of the page. The changes you make in the contacts section will be pushed out with the next update you do. If you have no new content to include when you add contacts, you can just create a new update, leave all the files as they are, and push it to include the new contact information.